How to Fill Large Door Gaps: Complete 2026 Guide for DIY Homeowners
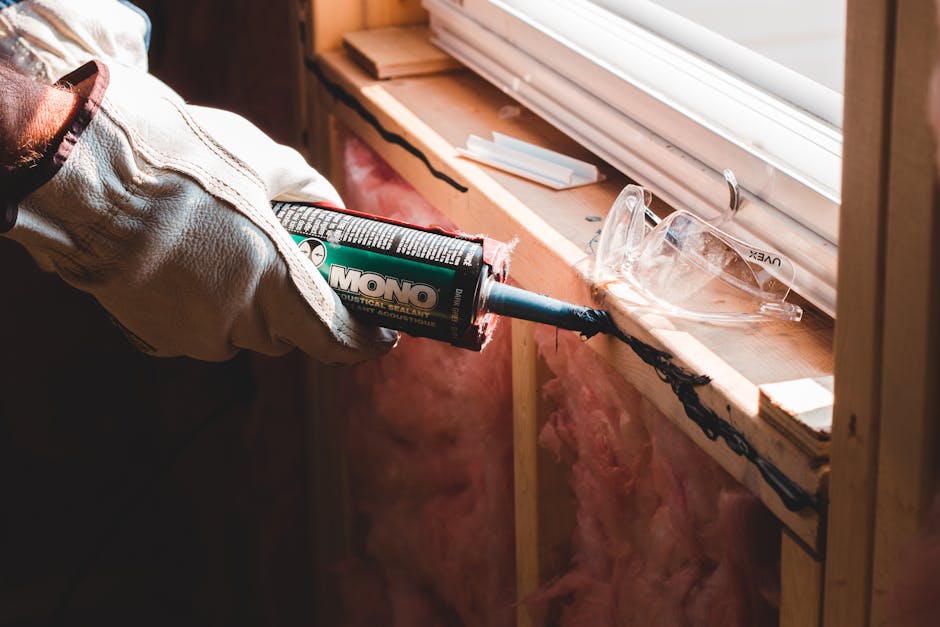
Photo by Erik Mclean / Pexels
Understanding Door Gap Issues and When to Address Them
One of the most common questions from DIY homeowners in 2026 involves dealing with gaps around door frames. Whether your gap appeared after settling, poor installation, or a renovation project, understanding what you're working with is the first step toward a successful fix. Large gaps around doors aren't just cosmetic issues—they can affect energy efficiency, allow drafts and pests to enter, and indicate potential structural concerns that need attention.
The size and location of your gap matters significantly. Small gaps (under 1/4 inch) can typically be handled with caulk alone, while larger gaps require more substantial solutions. Gaps on the side of a door frame versus the top may need different approaches, and the material behind the gap—whether it's drywall, brick, or existing trim—will influence your repair strategy.
Materials and Tools You'll Need for 2026
Before starting your door gap project, gather the right materials and tools. Having everything prepared makes the job move faster and produces better results. Here's what most homeowners reach for when tackling this common issue:
- For measuring and marking: A tape measure, pencil, and level help you plan the job properly
- Drywall supplies: Joint compound (also called drywall mud), drywall tape, a putty knife, and fine-grit sandpaper work well for moderate gaps
- Shims and backing: Wooden door shims help support the door frame while you fill larger gaps
- Trim options: Door casing or trim pieces can cover gaps while adding finished appeal
- Caulk and sealant: Paintable caulk works great as a final finish layer
- Painting supplies: Primer and paint to match your existing trim and walls
Step-by-Step Process for Filling Door Gaps
Assessing Your Gap Size and Type
The first real step involves carefully measuring your gaps. Use your tape measure on both the top and sides of the door opening. Gaps under 1/4 inch are considered small, 1/4 to 1/2 inch are moderate, and anything larger is considered substantial. The depth of the gap also matters—you need to know how far back into the wall it extends.
Preparing the Area
Clear out any loose debris, dust, or old caulk from inside the gap. Use a shop vacuum and a putty knife to clean thoroughly. For very large gaps, you might need to remove old shims or check that the door frame is properly shimmed and level. A level tool will show you if the frame is straight or if it needs adjustment before filling.
Filling Moderate to Large Gaps
For gaps larger than 1/4 inch, joint compound and drywall tape work effectively. Start by applying all-purpose joint compound with a putty knife, then embed drywall tape into the compound. Apply additional layers of compound, letting each dry completely (usually 24 hours) before sanding smooth. After three to four coats, you'll have a smooth surface ready for finishing.
For very large gaps (over 1/2 inch), consider using foam backer rod as a base before applying joint compound or caulk on top. This saves material and creates a better overall result.
Finishing with Trim or Caulk
Once your filler is smooth and sanded, apply caulk to fill any remaining small gaps and create a seamless transition. Paintable caulk in white or your wall color works well. Smooth the caulk with a wet finger or caulk tool for a professional appearance. If you prefer, you can install door casing or trim to cover the repair and give your doorway a finished look.
Comparing Different Gap-Filling Methods
| Method | Best For | Cost | Time Required | Skill Level |
|---|---|---|---|---|
| Caulk Only | Gaps under 1/4 inch | $5-15 | 1-2 hours | Beginner |
| Joint Compound & Tape | Gaps 1/4 to 1/2 inch | $20-40 | 3-5 days (with drying) | Intermediate |
| Foam Backer Rod + Caulk | Large, irregular gaps | $15-35 | 2-3 hours plus drying | Beginner to Intermediate |
| Door Casing Trim | Gaps with poor appearance | $50-150 | 4-8 hours | Intermediate |
Pro Tips for 2026 DIY Success
If you've already tackled larger home projects like floor installation and kitchen remodels, you have the skills needed for door gaps. Here are insider tips from experienced DIYers: Always check door frame levelness before filling large gaps—sometimes the issue stems from frame settlement rather than installation error. Work in thin layers rather than trying to fill everything at once. Multiple thin coats of joint compound create better results than one thick coat that's prone to cracking. Sand between coats with fine-grit sandpaper (220 grit or higher) for the smoothest finish. Paint primer before your final paint color helps you see where touch-ups are needed and provides better paint coverage.
For the finishing touch, consider whether your trim will match existing door casing in your home. Consistent trim appearance throughout your space makes repairs less noticeable. If your current trim style is no longer available, you might update all doors at once for a cohesive look rather than mixing styles.
Key Takeaways
- Gap size determines your approach: small gaps need caulk, moderate gaps work with joint compound and tape, large gaps benefit from foam backer rod
- Preparation is crucial—clean the gap thoroughly and check that your door frame is properly shimmed and level
- Multiple thin layers create better results than one thick application
- Allow adequate drying time between coats, typically 24 hours for joint compound
- Finish with paintable caulk and paint to match your existing trim and walls
- For gaps over 1/2 inch, foam backer rod saves material and improves results
Frequently Asked Questions
Can I use regular drywall spackle instead of joint compound for large door gaps?
While lightweight spackle works for small holes and cracks, it's not ideal for large door gaps. Joint compound (drywall mud) is more flexible, shrinks less, and sands more easily. Lightweight spackle tends to shrink more noticeably in larger applications, which can leave depressions you'll need to refill.
How long does it take to complete a large door gap repair?
This depends on your chosen method and gap size. Using caulk alone might take 1-2 hours plus overnight drying. Joint compound and tape work takes 3-5 days when accounting for multiple coats and drying time between applications. Installing door casing typically takes 4-8 hours for a complete, professional-looking installation.
Will my repair be invisible, or will it show where the gap was?
With proper technique and finishing, most repairs blend well, especially if you paint the entire door area. Some repairs will be slightly visible if you look closely, particularly if gap size was extreme. Installing new door casing can completely hide large gaps while updating your doorway's appearance. Quality prep work and sanding between coats significantly improves the invisibility of repairs.