What's Behind Your Outlet Faceplate? A 2026 Guide to Identifying Electrical Components
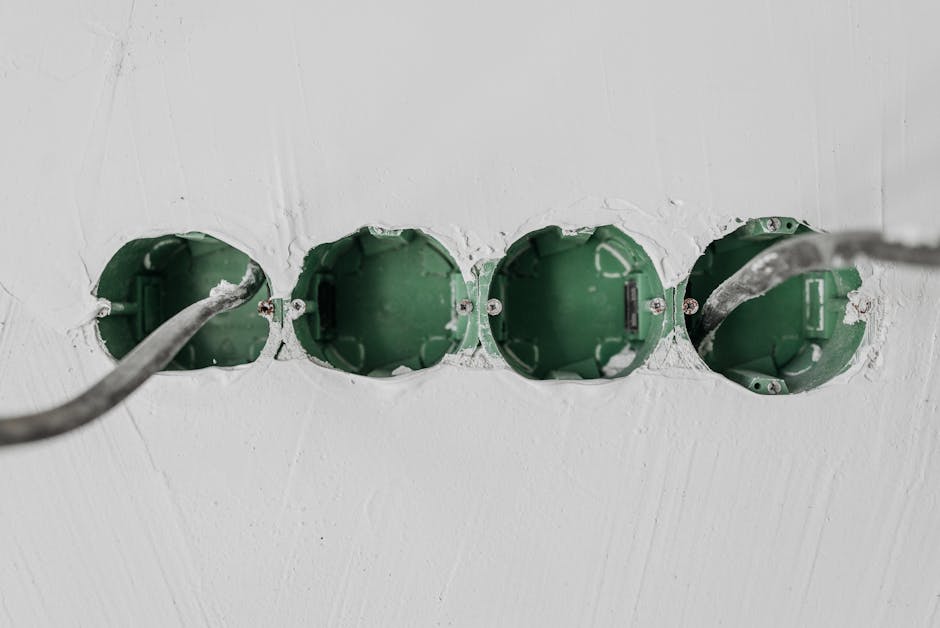
Photo by Pavel Danilyuk / Pexels
Understanding What Lurks Behind Your Outlet Faceplate
When you start a simple home improvement project like replacing outlet faceplates, you might discover that what appears to be a straightforward task becomes something more complex. Many homeowners in 2026 are finding unexpected components behind their outlet covers, and it's important to understand what these are before attempting any rewiring work.
The most common discovery behind a faceplate is an electrical outlet box that contains more than just a single receptacle. These boxes often house multiple outlets, switches, or specialized components that require proper identification and careful handling. Understanding the anatomy of your electrical system starts with knowing what these components are and how they're wired together.
Common Components Found Behind Faceplates
When you remove an outlet faceplate, you're typically looking at the rough-in work of your home's electrical system. Here are the main components you might encounter:
- Standard two-prong outlets - The basic receptacles found in older homes
- Three-prong grounded outlets - The modern standard with a round or U-shaped ground pin
- GFCI outlets - Ground Fault Circuit Interrupter outlets, commonly found in kitchens and bathrooms
- Combination switch-outlet units - Single boxes containing both a light switch and an outlet
- Tandem or split-circuit outlets - Two outlets controlled by different circuit breakers
- USB outlets - Modern additions providing direct USB charging
- Smart outlets - WiFi-enabled outlets becoming increasingly common
Identifying Your Specific Outlet Type in 2026
The key to safely replacing any electrical component is accurate identification. Start by examining the physical characteristics of what you've found. Look at the number of holes, the shape of the ground pin slot, and any markings on the device itself.
The most telltale signs of outlet type include the hole configuration. A standard outlet has three holes arranged in a triangle pattern. Older two-prong outlets have just two holes horizontally aligned. GFCI outlets have a distinctive appearance with test and reset buttons prominently displayed on the faceplate.
When examining the wiring behind the outlet, you'll typically see wire strippers in your toolkit become necessary for working with the exposed copper. Most modern home wiring uses 14 or 12-gauge wire, color-coded as black (hot), white (neutral), and green or bare copper (ground).
If you've discovered something unusual that doesn't match standard outlet descriptions, it could be a specialized component. Take a photo and compare it with manufacturer specifications before attempting any work. Better safe than sorry when dealing with electricity in 2026.
Safety Considerations Before Rewiring
Before you attempt any rewiring work, ensure you follow proper electrical safety protocols. The first and most important step is to turn off power to the circuit you're working on at the breaker panel. Use a non-contact voltage tester to confirm the power is completely off.
Never work on live electrical circuits. A quality non-contact voltage tester is an inexpensive insurance policy that could save your life. These devices alert you if voltage is present without requiring direct contact with the wires.
When you're ready to remove the old outlet, carefully note the wire positions. The black wire (hot) typically connects to the brass-colored screw, the white wire (neutral) connects to the silver screw, and the green or bare copper (ground) connects to the green screw. Photograph the connections before disconnecting anything. This documentation will be invaluable when installing the replacement.
Tools and Materials You'll Need for Safe Replacement
Properly rewiring an outlet requires the right equipment. A good wire stripper and cutter set will make the job easier and safer. You'll also need a reliable screwdriver set that fits the terminal screws on your specific outlet type.
Beyond tools, ensure you have the correct replacement outlet. Matching the voltage (typically 120V in most homes) and amperage rating (usually 15 or 20 amps) is critical. Installing a 20-amp outlet on a 15-amp circuit is a code violation and a fire hazard.
Comparison of Common Outlet Types
| Outlet Type | Appearance | Common Location | Amperage | Best For |
|---|---|---|---|---|
| Standard Two-Prong | Two horizontal holes | Older homes, non-grounded circuits | 15A | Lamps, low-draw devices |
| Three-Prong Grounded | Two holes plus round/U-shaped ground | Modern homes throughout | 15-20A | Most appliances |
| GFCI | Test/Reset buttons visible | Kitchens, bathrooms, outdoor areas | 15-20A | Wet locations, safety |
| 20-Amp Heavy Duty | Horizontal slot on hot side | Kitchen counters, laundry | 20A | High-draw appliances |
| Smart/USB Outlets | USB ports integrated into faceplate | Bedrooms, offices, entertainment areas | 15-20A | Device charging convenience |
Step-by-Step Guide to Safe Outlet Replacement
Once you've identified your outlet and gathered your tools, follow this systematic approach to replacement. First, turn off the breaker and verify power is off with your voltage tester. Then remove the existing faceplate by unscrewing the center screw.
Next, remove the outlet itself by unscrewing the mounting bracket screws on each side. Gently pull the outlet forward and photograph the wire connections before disconnecting anything. Loosen each terminal screw and carefully remove the wires, noting their original positions.
With the old outlet completely removed, prepare your new outlet. If the existing wires have worn insulation, use your wire strippers to remove about half an inch of insulation, creating fresh copper contact points. Connect the wires to your new outlet in the same positions as before: hot to brass, neutral to silver, ground to green.
Push the outlet back into the box carefully, ensuring wires aren't pinched or bent sharply. Tighten the mounting screws evenly, then reinstall the faceplate. Finally, restore power at the breaker and test your work with a plug-in tester to ensure correct polarity and grounding.
Key Takeaways
- Outlet faceplates often conceal more than simple receptacles; proper identification is essential before rewiring
- Always turn off power at the breaker and use a non-contact voltage tester to confirm safety
- Document wire positions with photos before disconnecting any components
- Match amperage ratings and voltage carefully when purchasing replacement outlets
- Different outlet types serve specific purposes and shouldn't be confused or substituted
- When in doubt, consult a licensed electrician rather than risk a code violation or safety hazard
- Modern outlets in 2026 offer smart features and improved safety mechanisms compared to older models
Frequently Asked Questions
What's the difference between a GFCI and standard outlet?
A GFCI (Ground Fault Circuit Interrupter) outlet is specifically designed to protect you from electrical shock in wet environments. It monitors the flow of electricity and cuts power in milliseconds if it detects a ground fault. Standard outlets lack this protection. GFCI outlets are required by electrical code in kitchens, bathrooms, and outdoor areas in 2026. They're identifiable by the prominent test and reset buttons on the faceplate.
Can I replace a 15-amp outlet with a 20-amp outlet?
Technically the outlets are physically different (20-amp outlets have a distinctive horizontal slot), but you should never install a higher-amperage outlet on a lower-amperage circuit. A 15-amp circuit isn't designed to safely handle 20 amps of continuous current. This violates electrical code and creates a fire hazard. Always match the outlet amperage to your circuit breaker rating.
What should I do if I find an outlet type I can't identify?
Take clear photos and check the manufacturer markings on the device. Search online using these details or post in reputable electrical forums. Most importantly, don't guess and proceed with rewiring. If you're uncertain, contact a licensed electrician in your area. A professional inspection might cost $50-100 but could prevent costly mistakes or dangerous conditions. Safety always comes first when working with electrical systems.